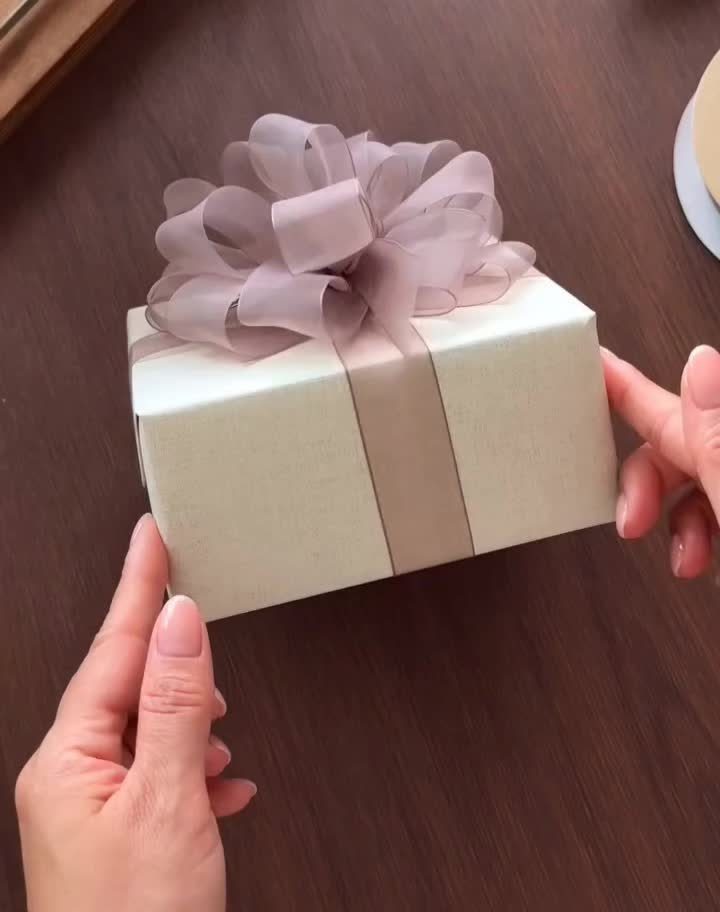
A box with a bow can be as simple as a basic ribbon tied on plain paper or as layered as a woven ribbon bow, and the ribbon should follow the box, not the other way around.
Fewer ribbon types with more care in the tying beats a pile of trims, and one ribbon width repeated across a stack of three is what makes it look planned.
1. Basic Ribbon & Bow
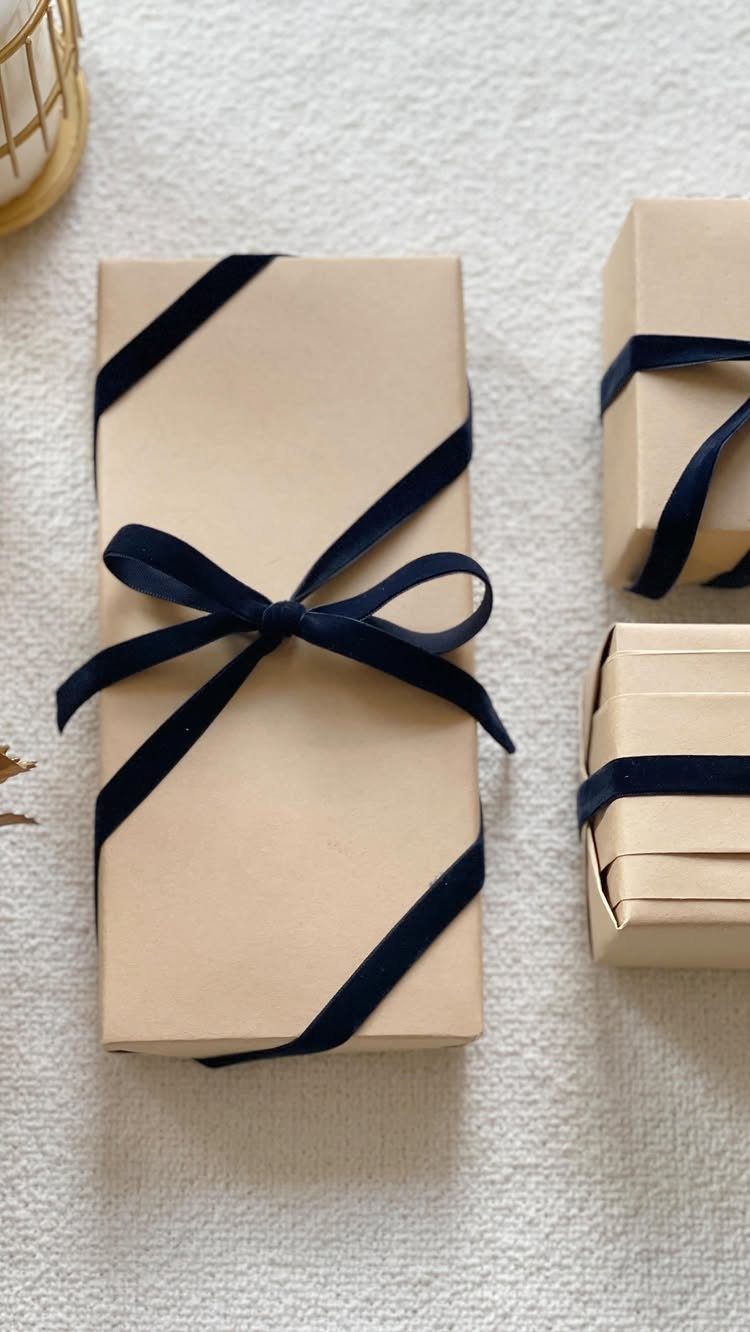
Black velvet on kraft paper is a pairing I’d pick over any printed wrap. The paper stays plain, so the ribbon does all the work, and the dark pile of the velvet reads rich against the matte brown.
Use one ribbon width across every box, even when the box sizes differ.
That repetition is what makes a stack of three look planned. Loops of matching size make a bow look store-bought, and a diagonal snip on each tail, cut at a slant, finishes it off.
2. Diagonal Ribbon & Bow
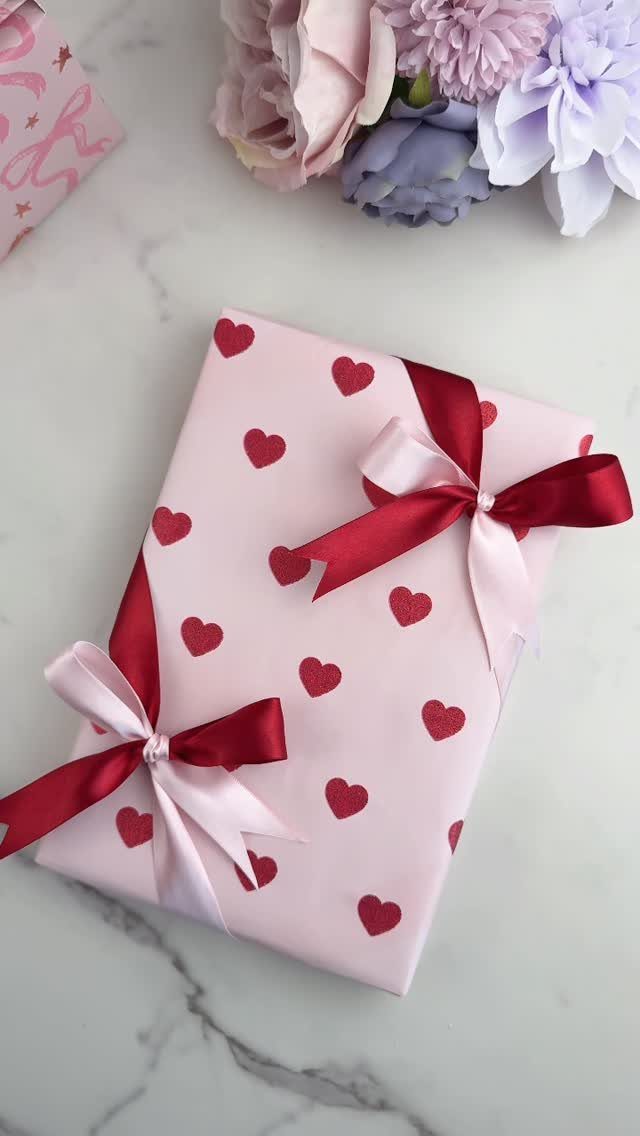
Two ribbons crossing a box on the slant, each finished with its own bow, give a plain lid far more movement than one centered band.
Red and pink together suit a patterned box like this heart print, since both colors already live in the wrapping.
Keep the ribbons parallel so the diagonals look deliberate. Fix each one with a strip of double-sided tape under the bow before tying, or the angle will creep as you work.
3. Woven Ribbon & Bow
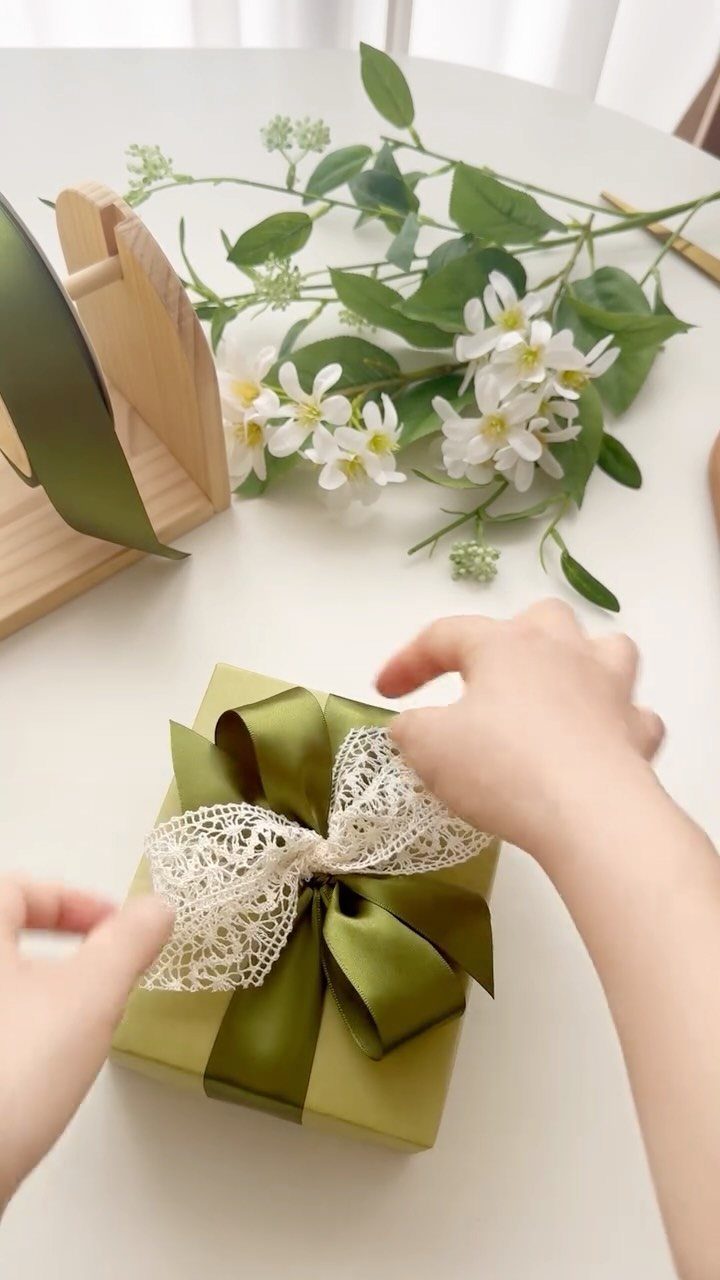
Weaving a satin ribbon with white lace gives the bow 2 textures, and the lace softens the sheen of the green.
It asks for patience, so this is the one I’d save for a single showpiece gift rather than a table of them.
Work with the ribbons flat on the table before they touch the box.
Lay one over the other, pass them through each other, then tie the finished piece on. Pick a lace close to the satin’s width so the weave stays tidy.
4. Horizontal Ribbon & Bow
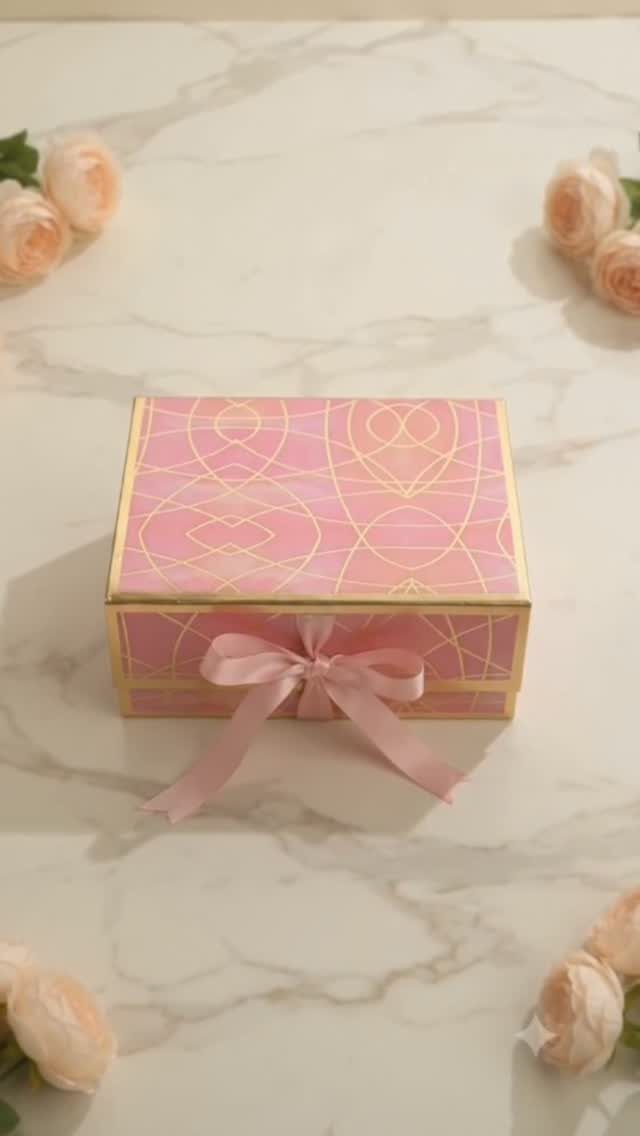
A horizontal bow is the old standby: one band around the box’s middle, the knot sitting dead center on the front. On a busy pink and gold pattern, that calm line keeps the box from looking cluttered.
Satin works well here because it lies flat and holds a crisp loop. Tie the bow last, after the band is snug, and center it by eye against the pattern, not just the edges.
5. Wired Ribbon Bow with Foliage
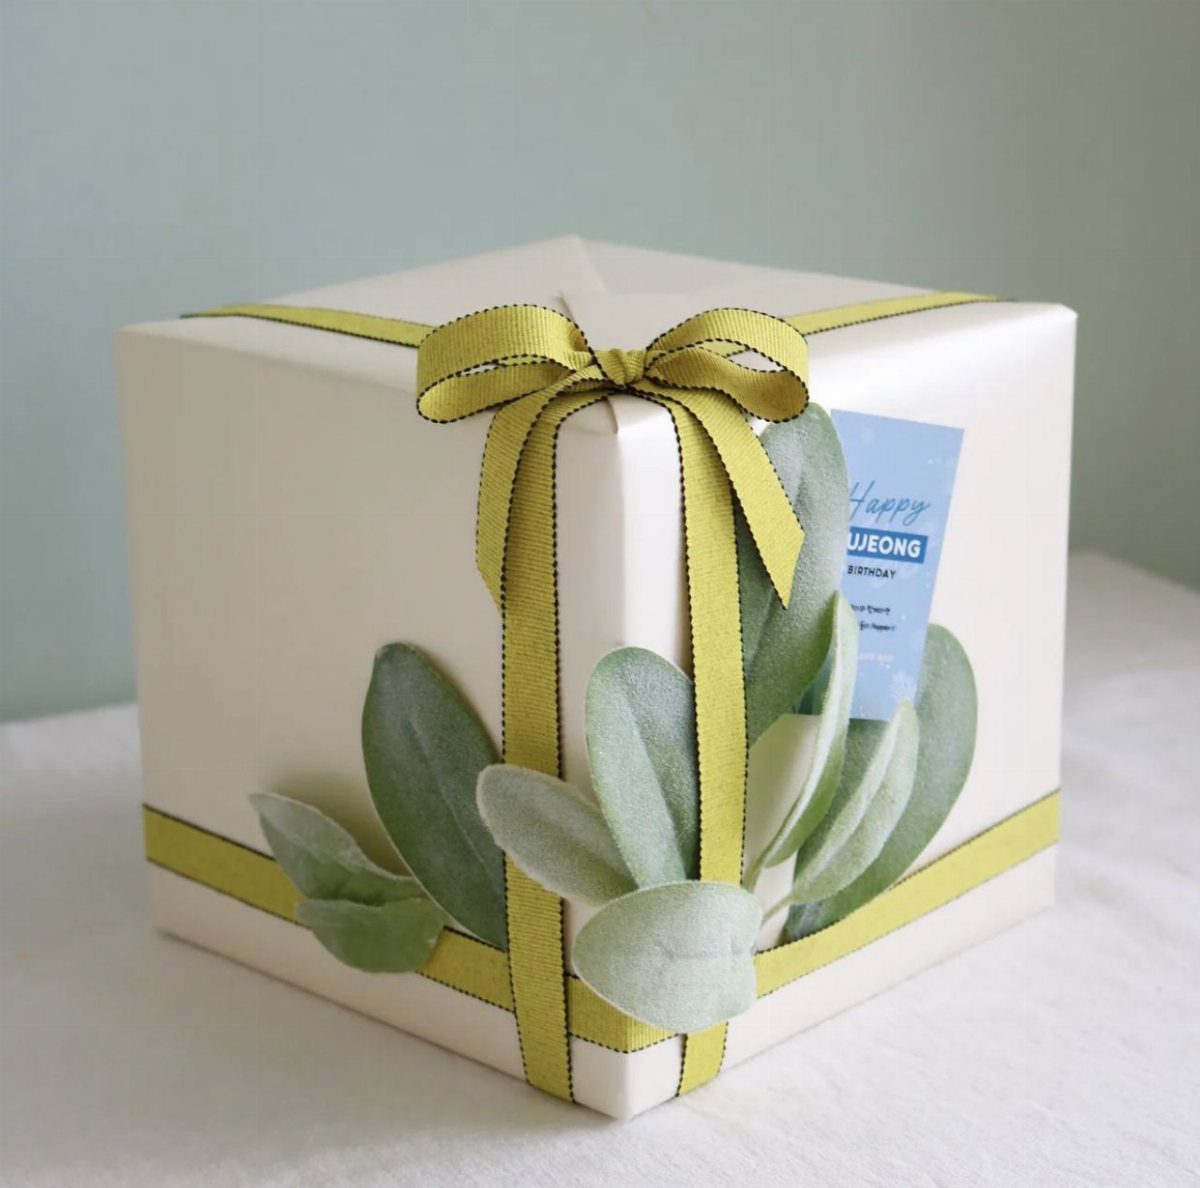
Wired ribbon holds its shape, which is why a bow like this can stand up in full loops instead of drooping. Tuck a few sprigs of silvery-green foliage beneath it and the box gets a soft, garden look.
Shape the loops with your fingers after tying, then slide the stems in under the knot so they anchor.
A cream box keeps the color from fighting the greenery. Add a small tag, as this one has, for the name.
6. Gift Box with Bow and Tag
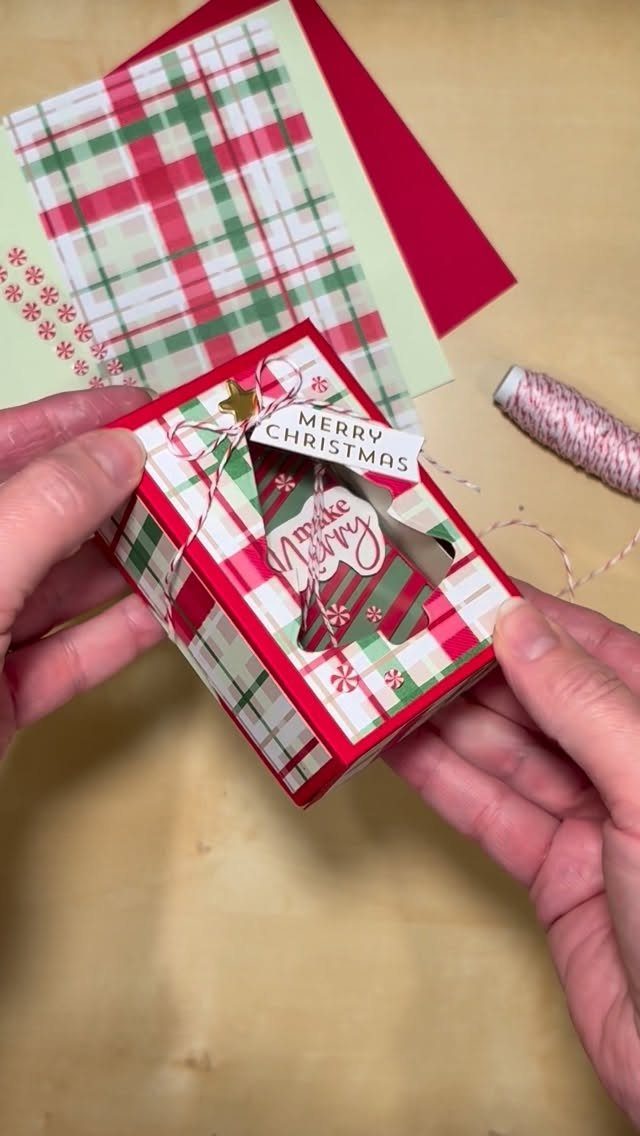
A tag turns a wrapped box into a gift meant for one person. On a plaid Christmas box, a "Merry Christmas" tag and a bow of white string keep the look homespun, and the maker notes this one is handmade.
String is cheaper than satin and easy to knot.
Write the name and a short line on the tag before attaching it, then tie it in the bow so it hangs facing forward. A matching card on the side makes the set complete.
7. Luxury Gift Box
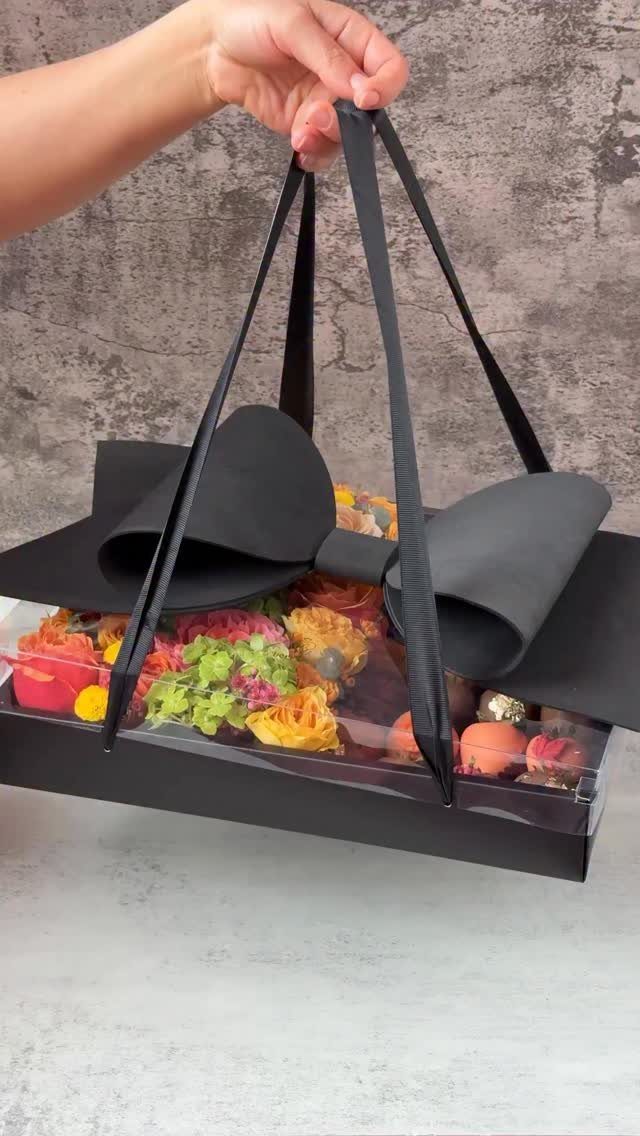
A black box with ribbon handles and one large bow looks expensive before anyone lifts the lid.
Against a black box, bright macarons and fresh flowers stand out so sharply that they become the gift, and the box turns into a quiet frame.
Keep the palette tight: black box, black ribbon, and let the contents bring the color.
Tie the bow big and full, since a small one gets lost on a dark surface. I’d save this for a birthday, an anniversary or a thank-you that deserves more than a card.
8. Colorful Gift Box
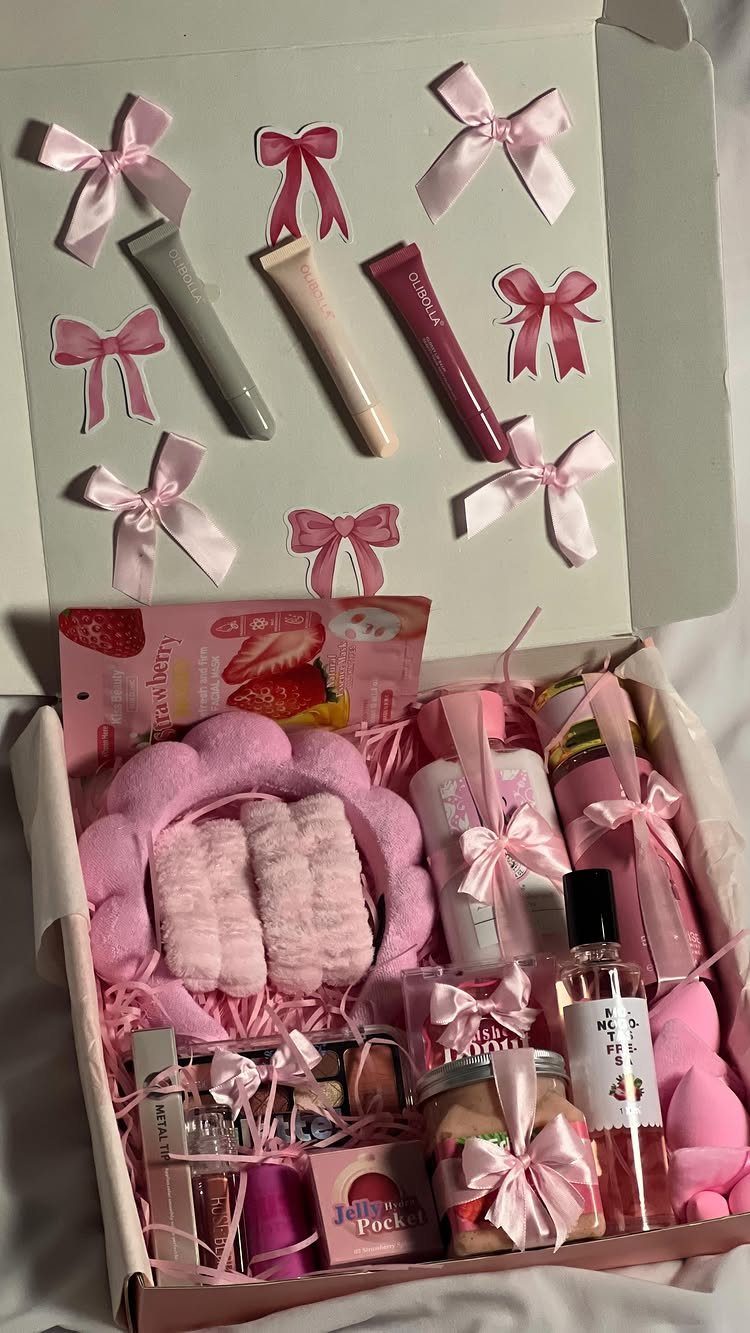
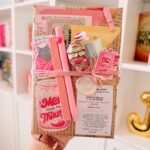
Pink on pink is the choice here, and it works because every item agrees with the box. Headband, skincare, treats and bows all sit in one color family, so the gift looks styled instead of stuffed.
Tie small bows on more than the outside.
Putting extras on the inside of the lid means the reveal has something to look at, too. Small flat items like lip glosses fit there best, held on with double-sided tape.
9. Seasonal Gift Box
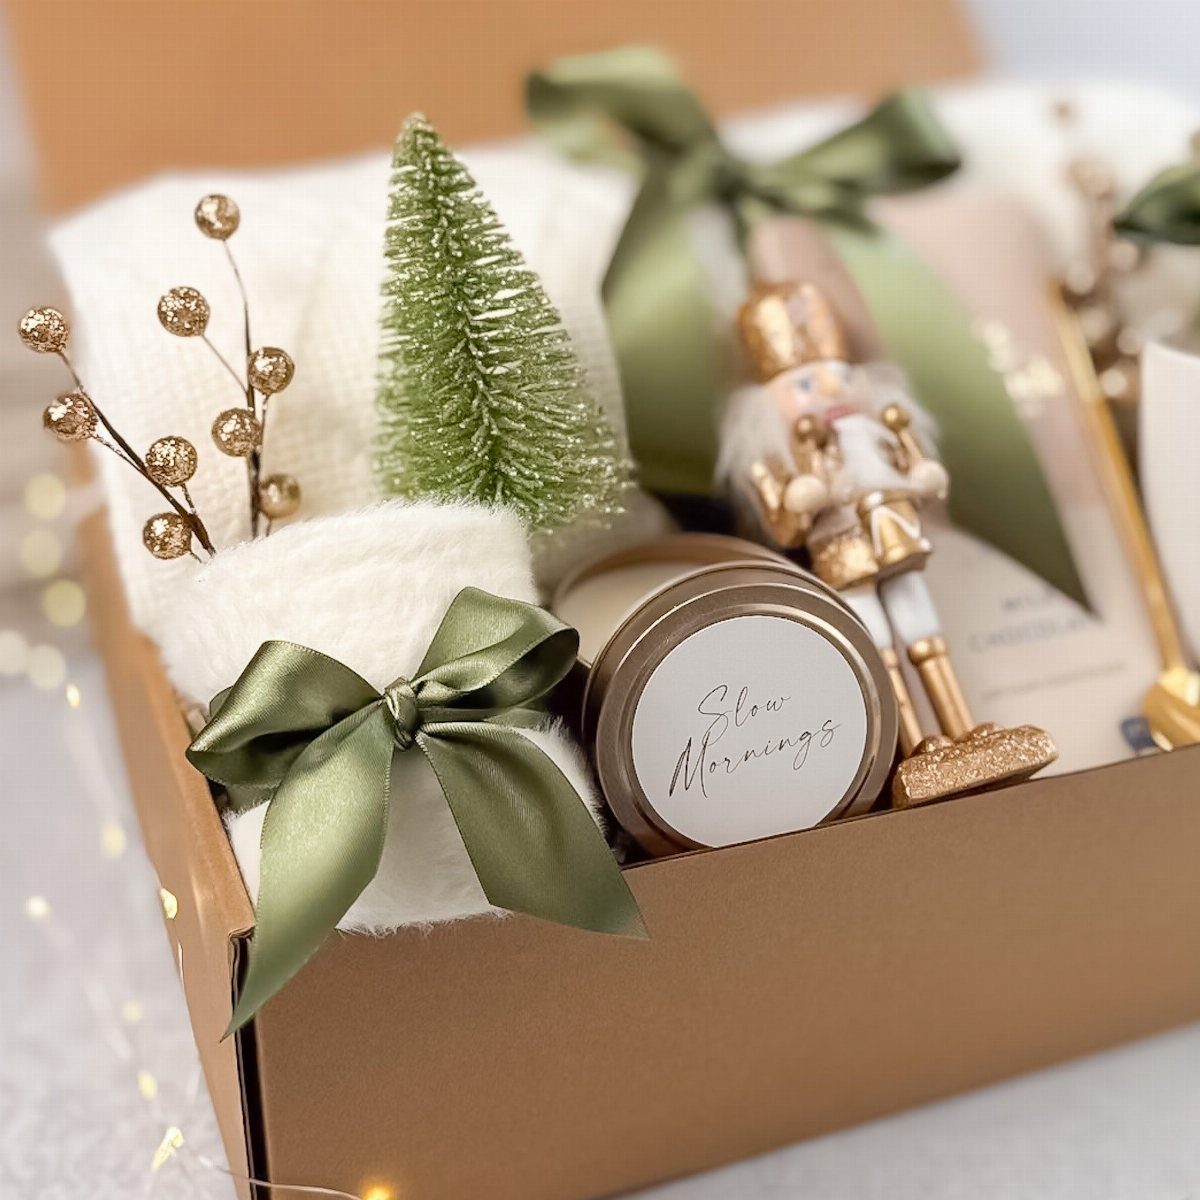
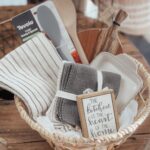
A plain brown cardboard box suits a winter theme better than you’d expect. The kraft tone lets white towels, green bows and a candle do the decorating.
Pick one accent color and repeat it, as green does here, so a nutcracker, a small tree and towels read as a set.
Match the candle’s name to the mood: "Slow Mornings" tells the recipient what the box is for. Fold the towels last and lay them flat so the smaller pieces sit on top.
Tips for Wrapping
Ribbon quality shows in the loops. Cheap ribbon frays at the cut edge and collapses when you tie it, while a heavier satin keeps a crisp fold.
Before you knot anything, pull the ribbon taut over the box and check that it sits flat with no twists.
Wide ribbon makes a bolder statement, and a wide red satin band against white paper with a holly or star print is a classic Christmas combination.
Pink paper looks sweet with a white polka dot ribbon, and a thin white satin ribbon laid over it adds a second, finer line.
Once the bow is tied, adjust the loops until they match in size. Small tweaks with your fingertips make the difference between a bow that looks tied in a hurry and one that looks finished.
A tag or a sprig of foliage is the last step, never the first. Add it after the bow is shaped so it doesn’t get crushed.
Materials for Gift Boxes
Cardboard is the base for almost every gift box, and a sturdy one matters more than a pretty one.
If the lid bows when you press the center, the ribbon will pucker it further, so choose a box with a firm lid.
Satin ribbon is the standard choice for bows because it lies smooth and takes a crisp fold.
Keep a spool in the color that matches the occasion, such as red for Christmas or pink for Valentine’s Day, and you can wrap a box in minutes.
Decorative tags are the finishing material. Buy blank ones in a color that matches your ribbon, and keep a pen on hand that writes clearly on glossy stock.
Pick colors that suit the occasion at home, ahead of the store trip, so the register is only for checking out. Setting the box, ribbon and tag side by side at home shows quickly whether they agree.
Gift Presentation Ideas
Layering gives a gift depth. Wrap the box in paper first, add a band of ribbon, then tuck a tag or a small themed piece under the bow.
Each layer should be a different texture, such as matte paper, glossy satin and a paper tag, so they don’t blur together.
Keep the theme to one idea. A winter box can carry a few matching decorations, but three or four competing ones make the gift look crowded.
Before you hand it over, set the box on a table and look at it from the front, where the recipient will first see it. If your eye has nowhere to land, remove one layer.
Frequently Asked Questions
How do I tie a bow on a gift box?
Pull the ribbon snug around the box, cross it, and tie the bow last so the band stays tight.
Shape the loops with your fingertips until they match in size, then snip each tail on a slant. Check first that the ribbon lies flat with no twists, and center the knot by eye against the pattern.
What materials do I need for gift wrapping?
You need a sturdy cardboard box, ribbon and decorative tags. A lid that bends when you press it will pucker as soon as the ribbon is pulled snug, so pick a box that stays flat under your thumb.
Satin is the standard ribbon because it lies smooth and folds crisply, and blank tags in a matching color plus a pen that writes on glossy stock finish the job.
What are some creative gift box ideas?
Pick one color family or one theme and repeat it.
Styled looks come from restraint: a pink box packed only with pink items, tiny bows stuck inside the lid, or a plain brown box holding white towels and a few green touches.
A tag with the recipient’s name, or a black box with one large bow and bright contents, makes it feel personal.